

Adding an AI chatbot to WordPress used to mean one of two things: a rule-based widget that could only answer the five questions you scripted, or a developer ticket to wire up a real AI agent by hand. Neither is necessary in 2026. You can add a genuine AI agent to your WordPress site in about two minutes without writing code. The agent answers from your own content, handles follow-up questions, and hands off to a human when it should.
This guide covers the whole path: building the AI agent, then adding it to WordPress with the official plugin (recommended for almost everyone) or a one-line script (for people who would rather not install a plugin). It then covers the part that matters once the widget is live, which is making the bot good enough that visitors trust it.
If you only need the short version: install the Quickchat AI Agent plugin, paste one ID, and the chat widget appears on every page. The rest of this guide explains each step with screenshots.
What you’ll need
- A WordPress site on version 6.0 or newer, where you can install plugins.
- A Quickchat AI account. The free plan includes 50 AI messages per month with no credit card, which is enough to launch and test on a real site.
- Five minutes. Most of that is spent customizing the bot, not installing it.
Step 1: Build your AI agent
Before you can add the chatbot to WordPress, you need an agent to add. In Quickchat AI this is the part that surprises people: you give it your website URL and it builds a working agent from your existing content, with no manual training.
Log in to the Quickchat AI App, enter your site URL, and click Start. The example below uses f1.com, but it works the same with any site.
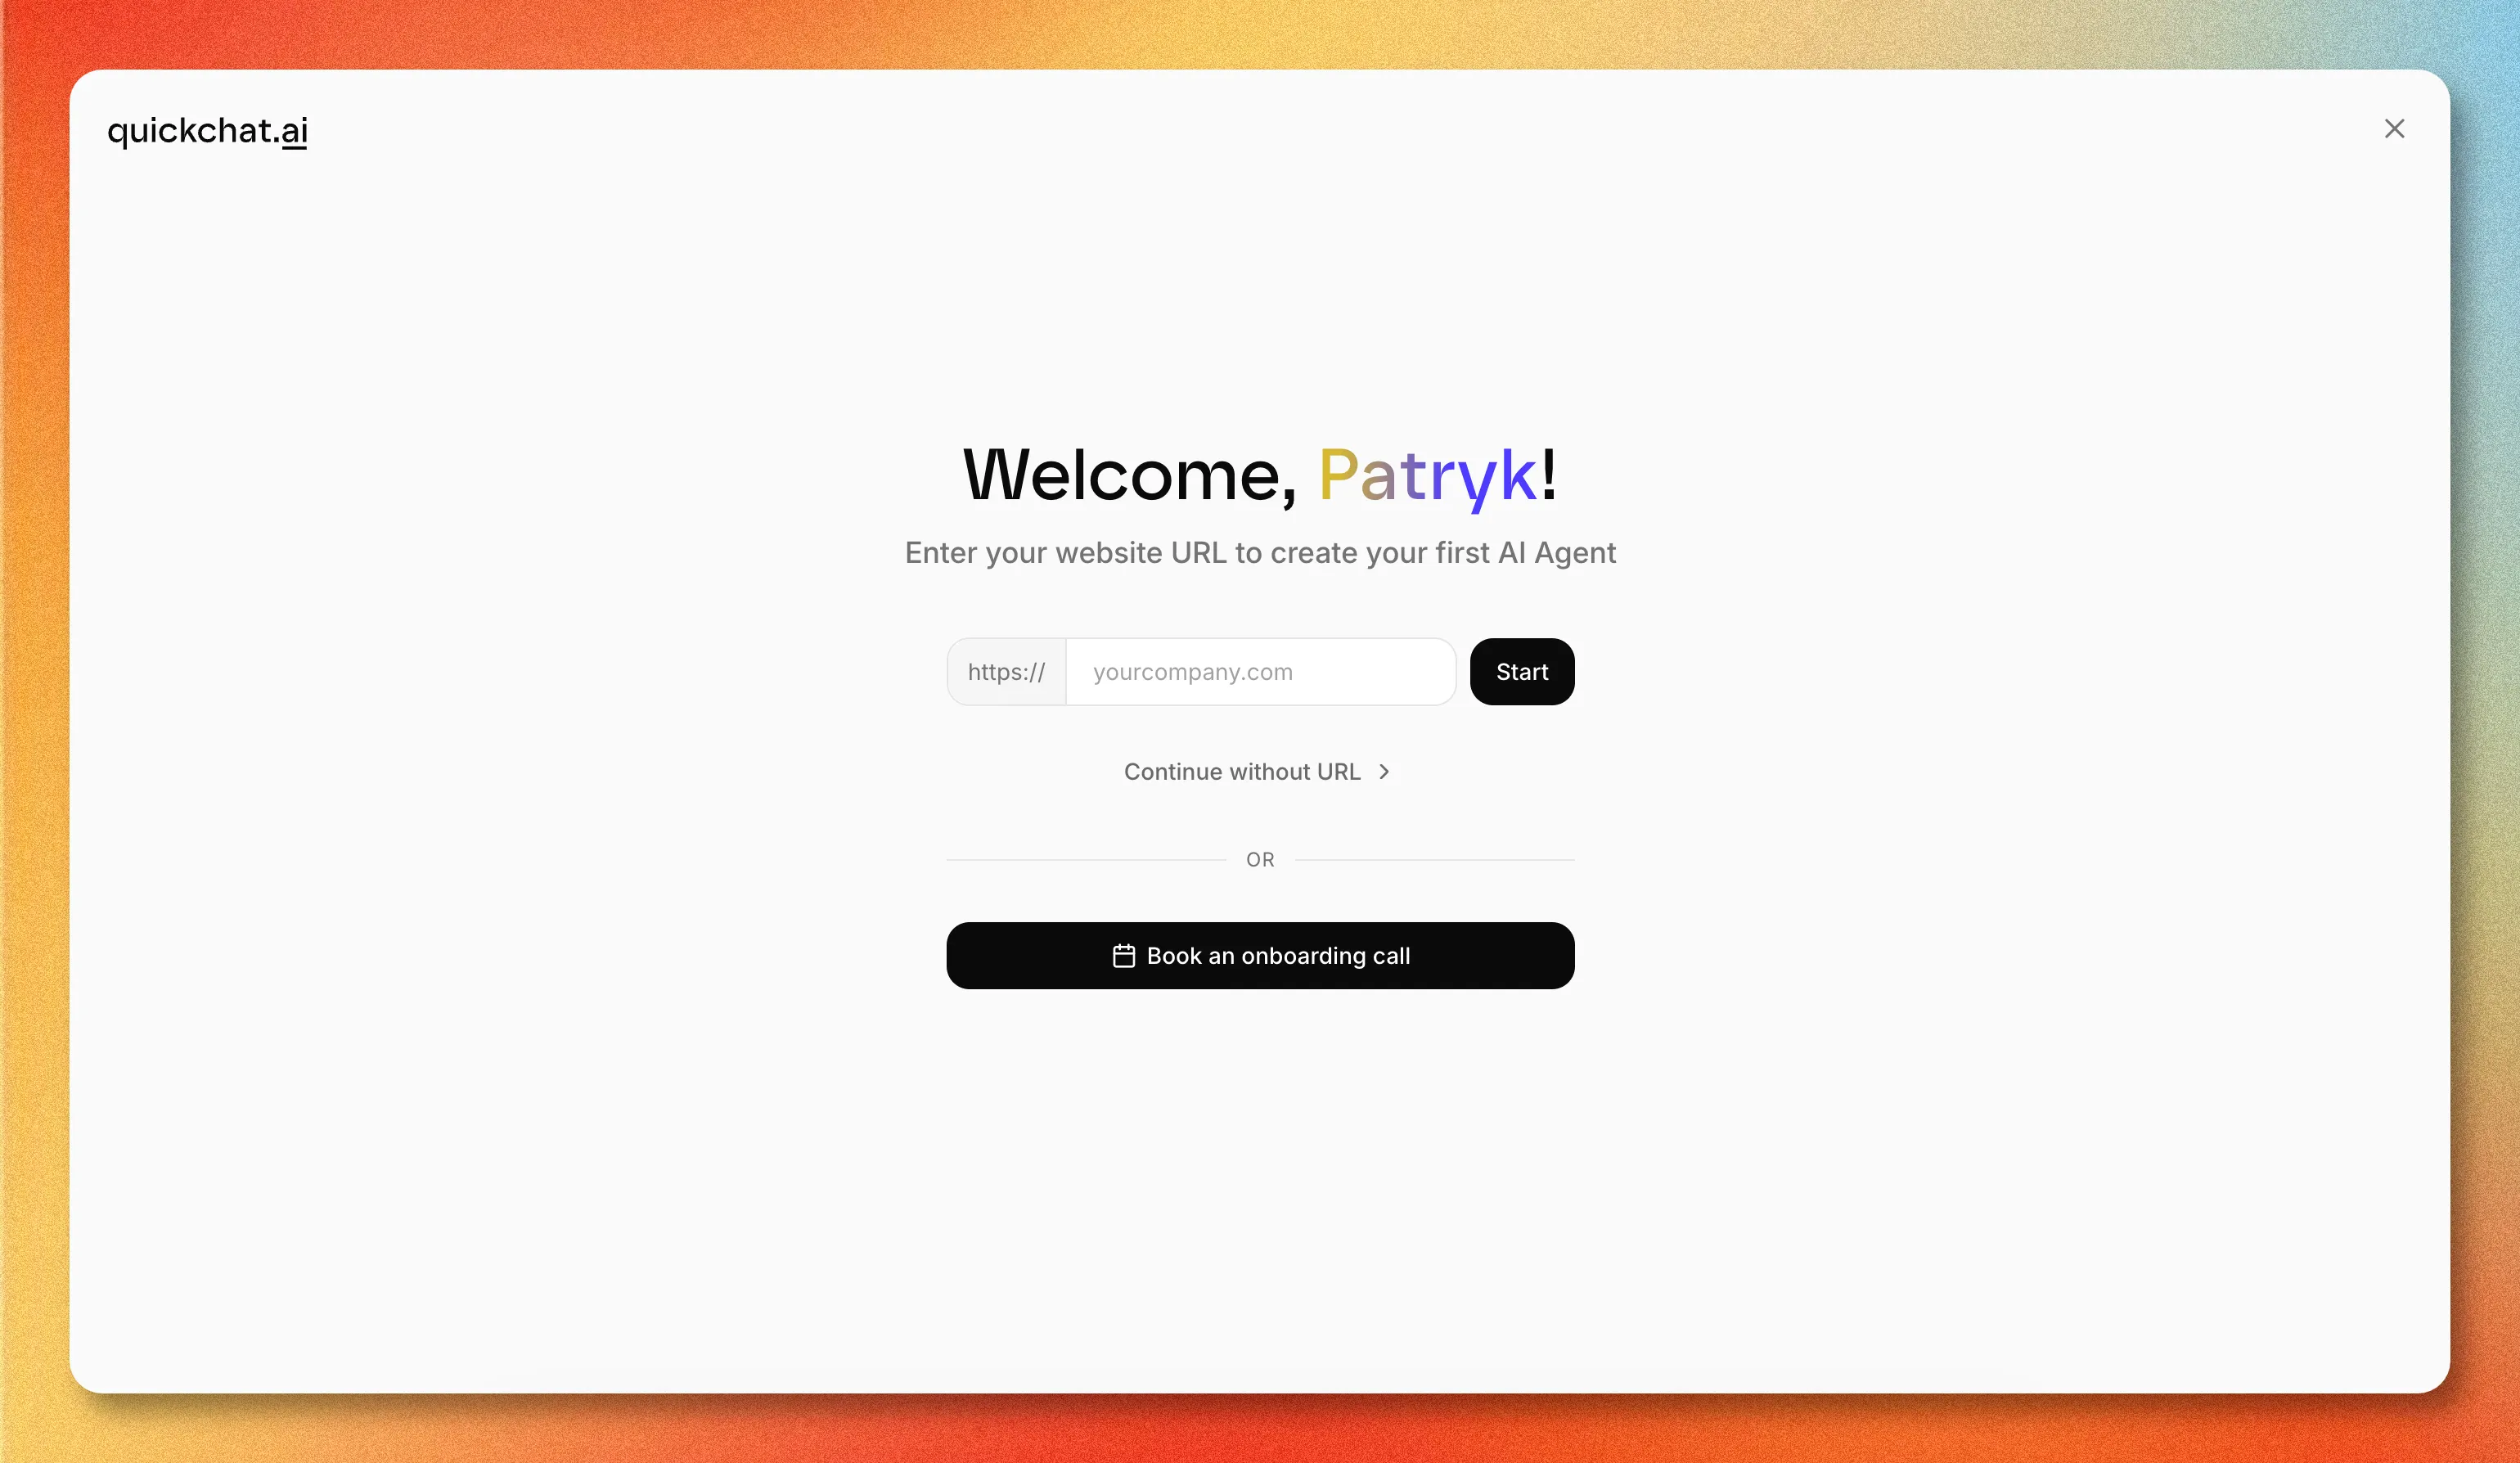 Enter your website URL to seed the agent. You can also continue without a URL and add knowledge later.
Quickchat fetches the site, reads its content, and configures the agent. This usually takes under 30 seconds.
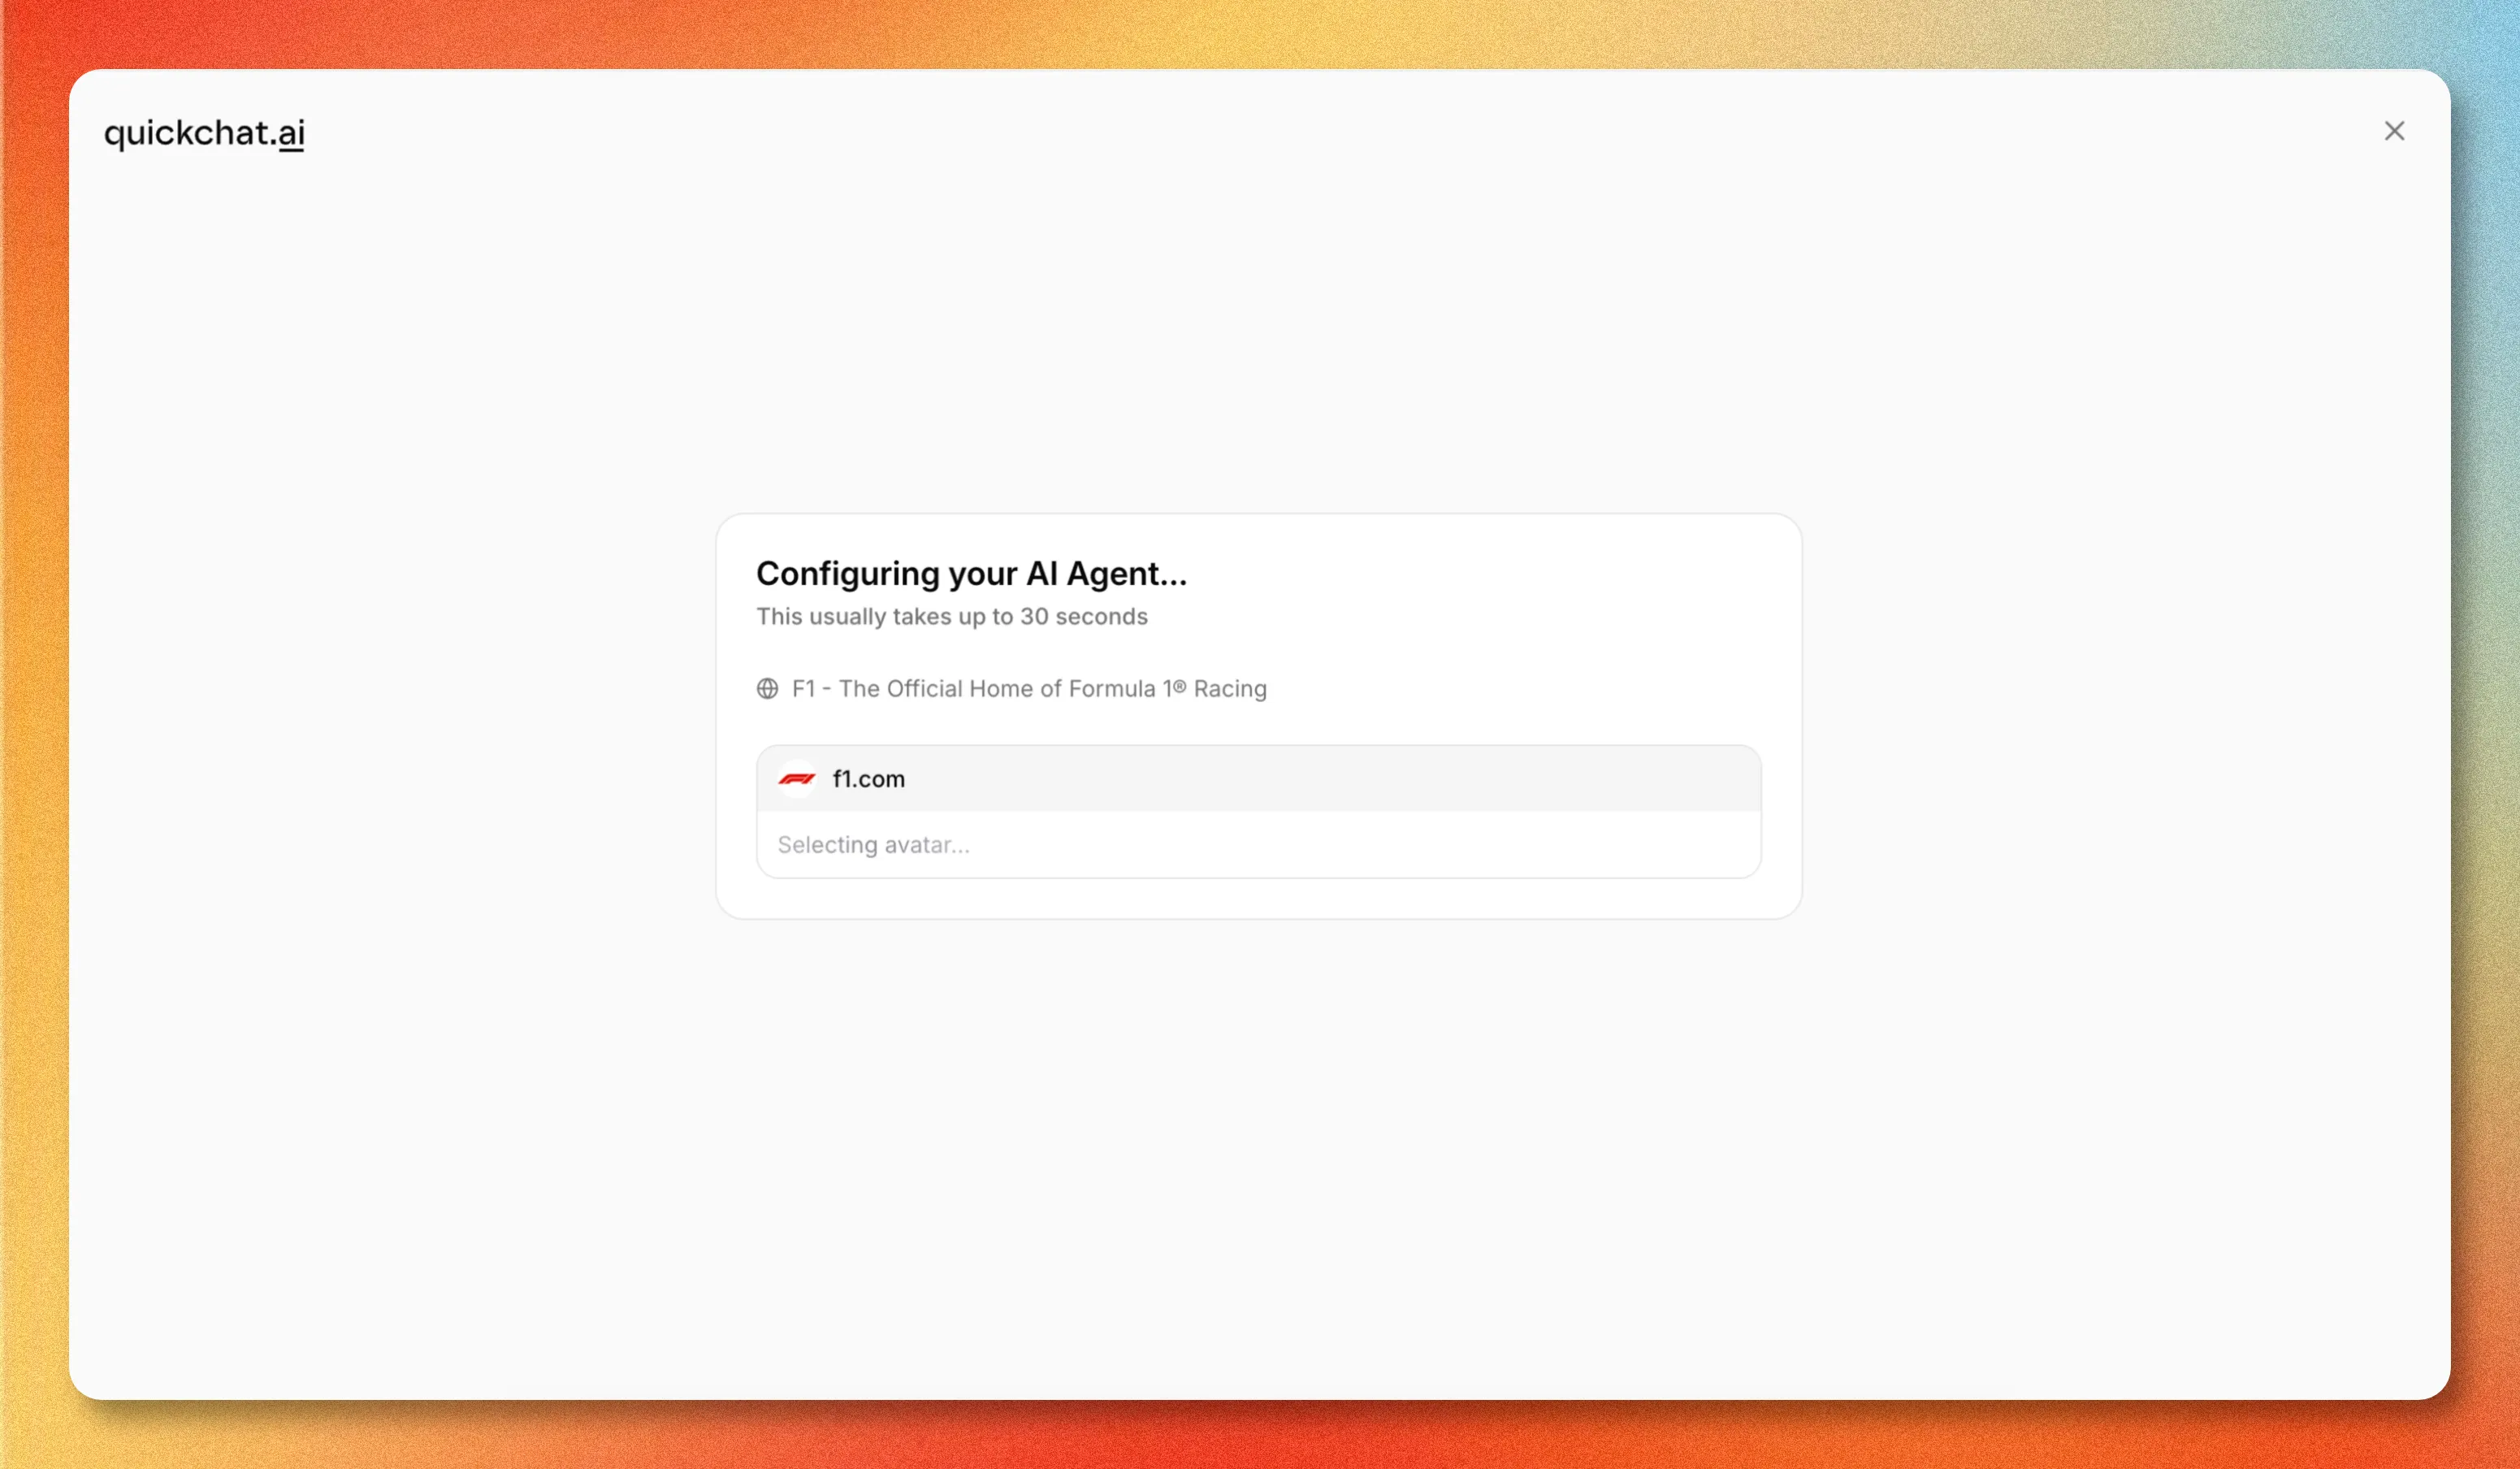 The agent is built automatically: it pulls a name, avatar, and starting knowledge from the site.
When it finishes, you get a working agent you can talk to immediately. It already has a greeting, suggested questions, a profession, and a tone, all inferred from the site. You can change any of this later.
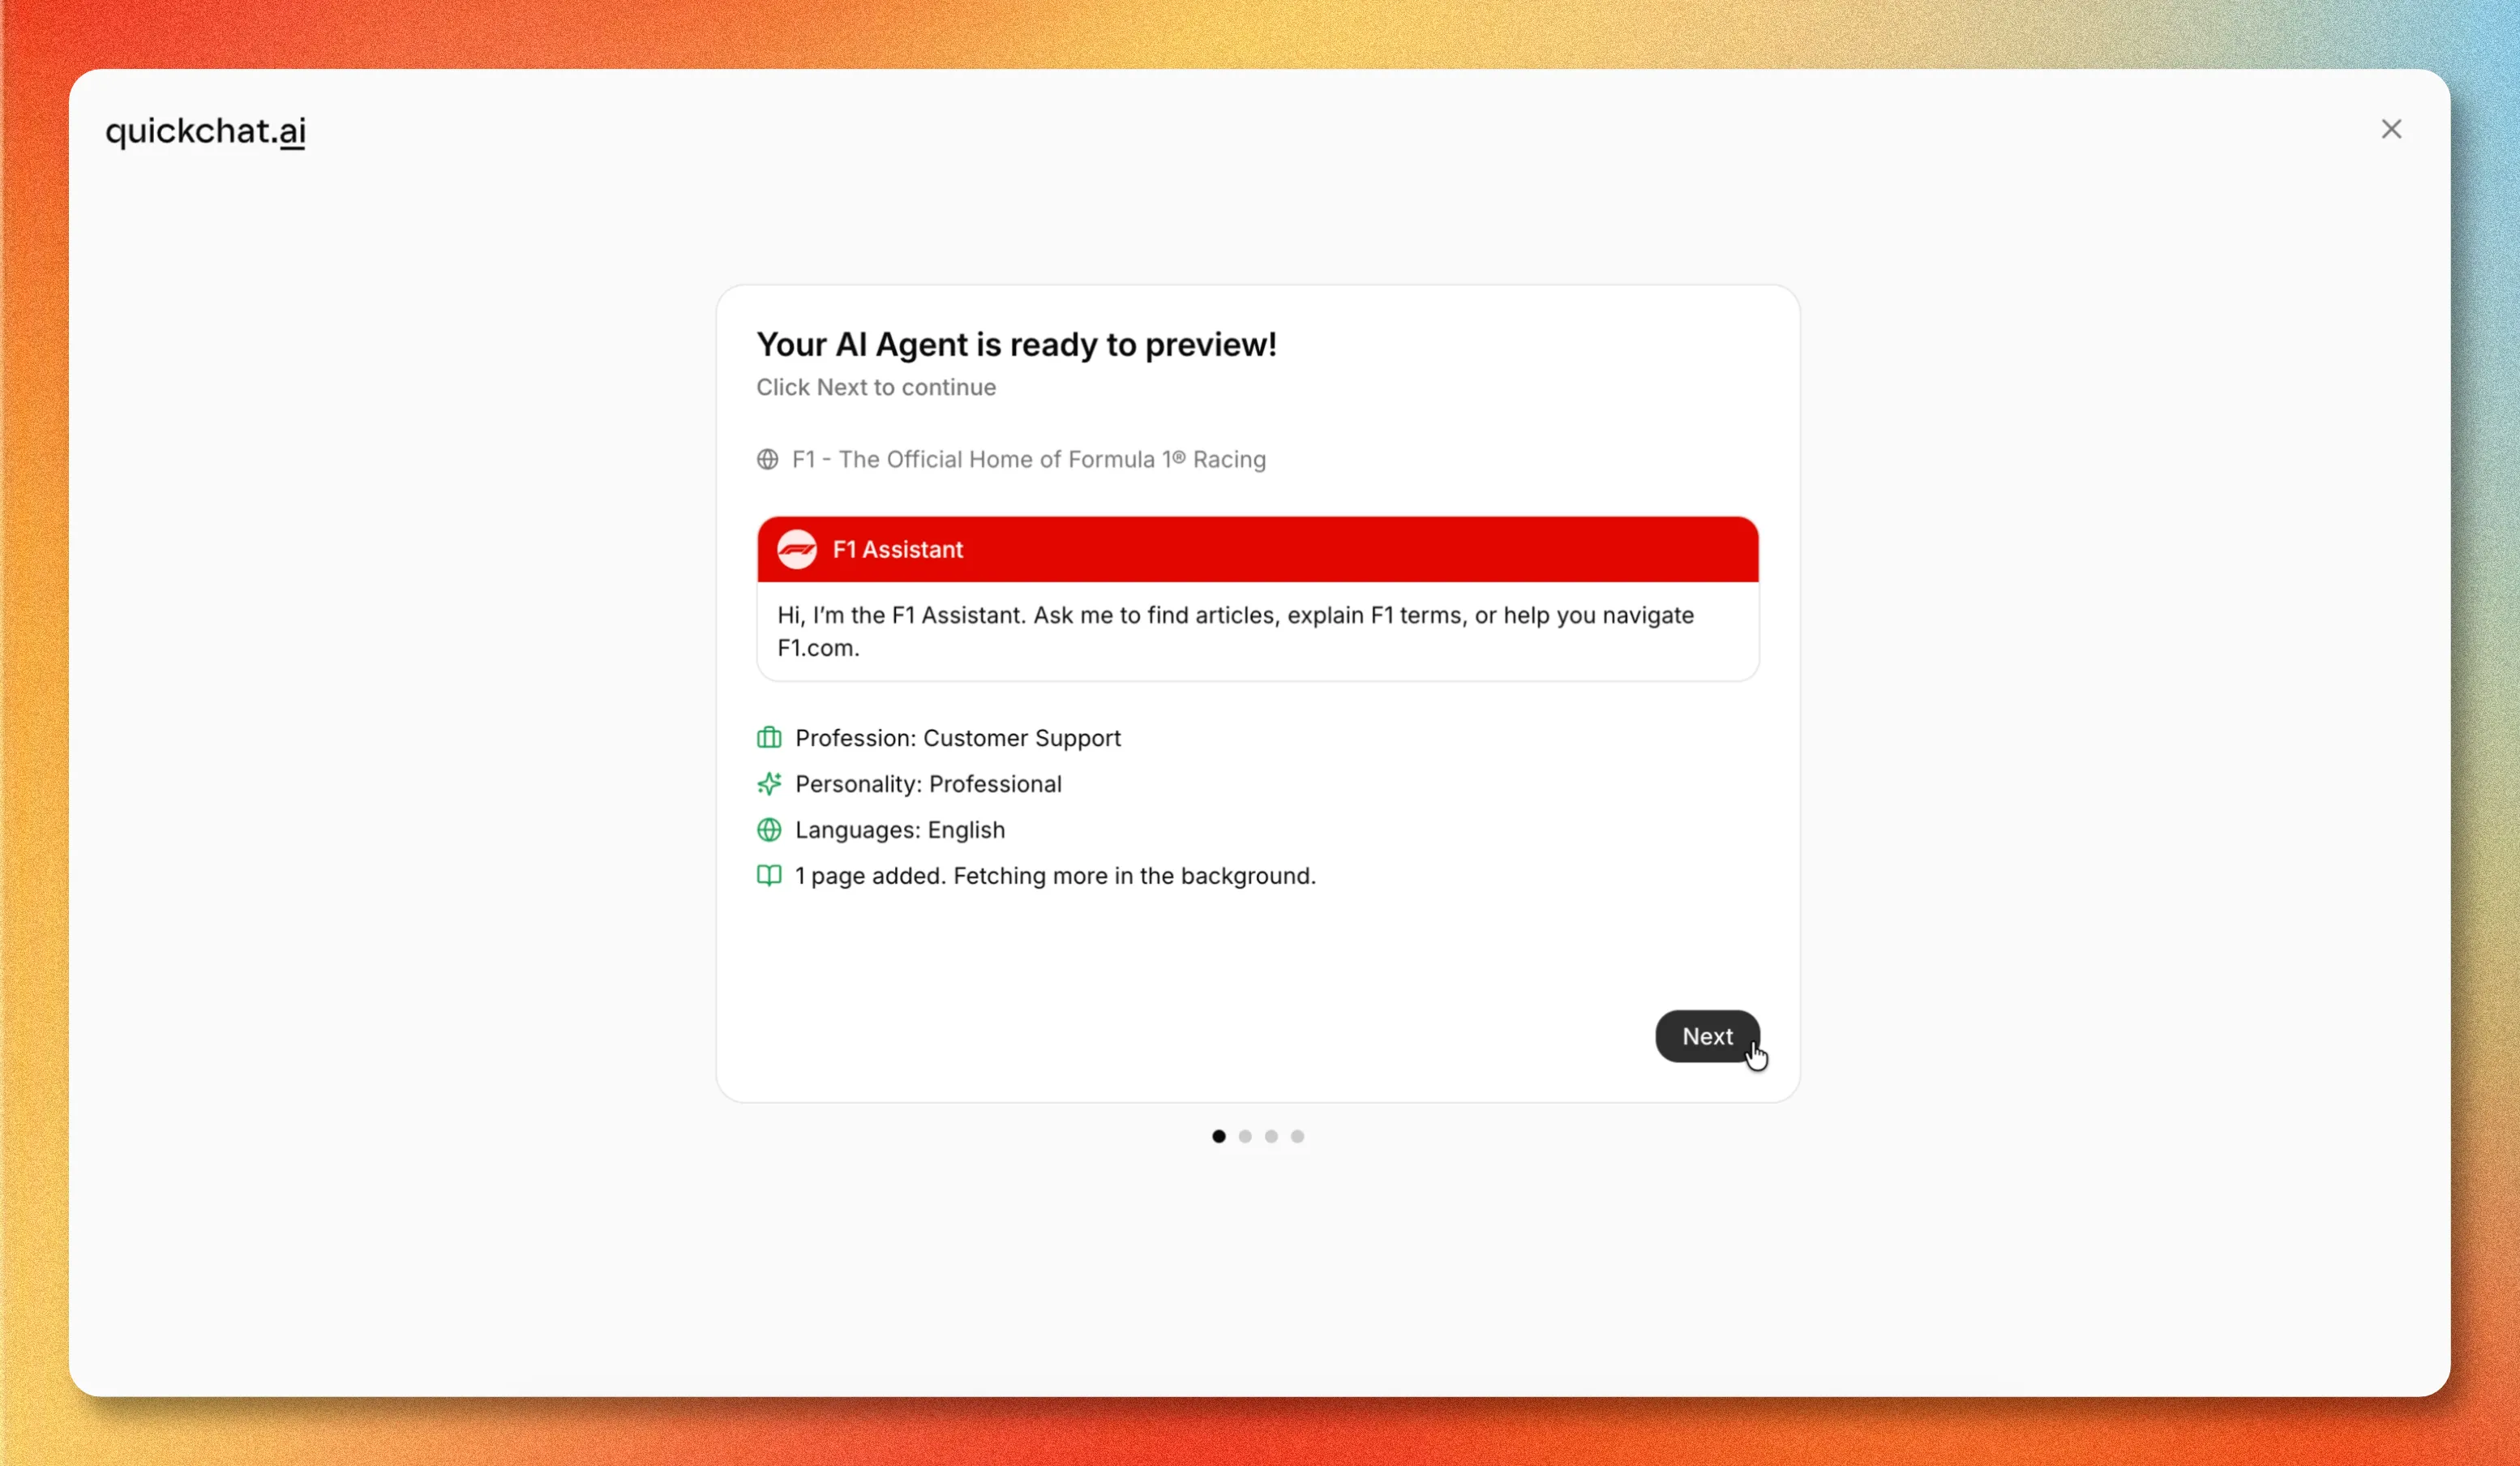 The finished agent, ready to preview, with knowledge fetched in the background.
From the dashboard you can test the agent, expand its knowledge base, connect external apps, and deploy it. Adding it to WordPress is one of the deployment channels.
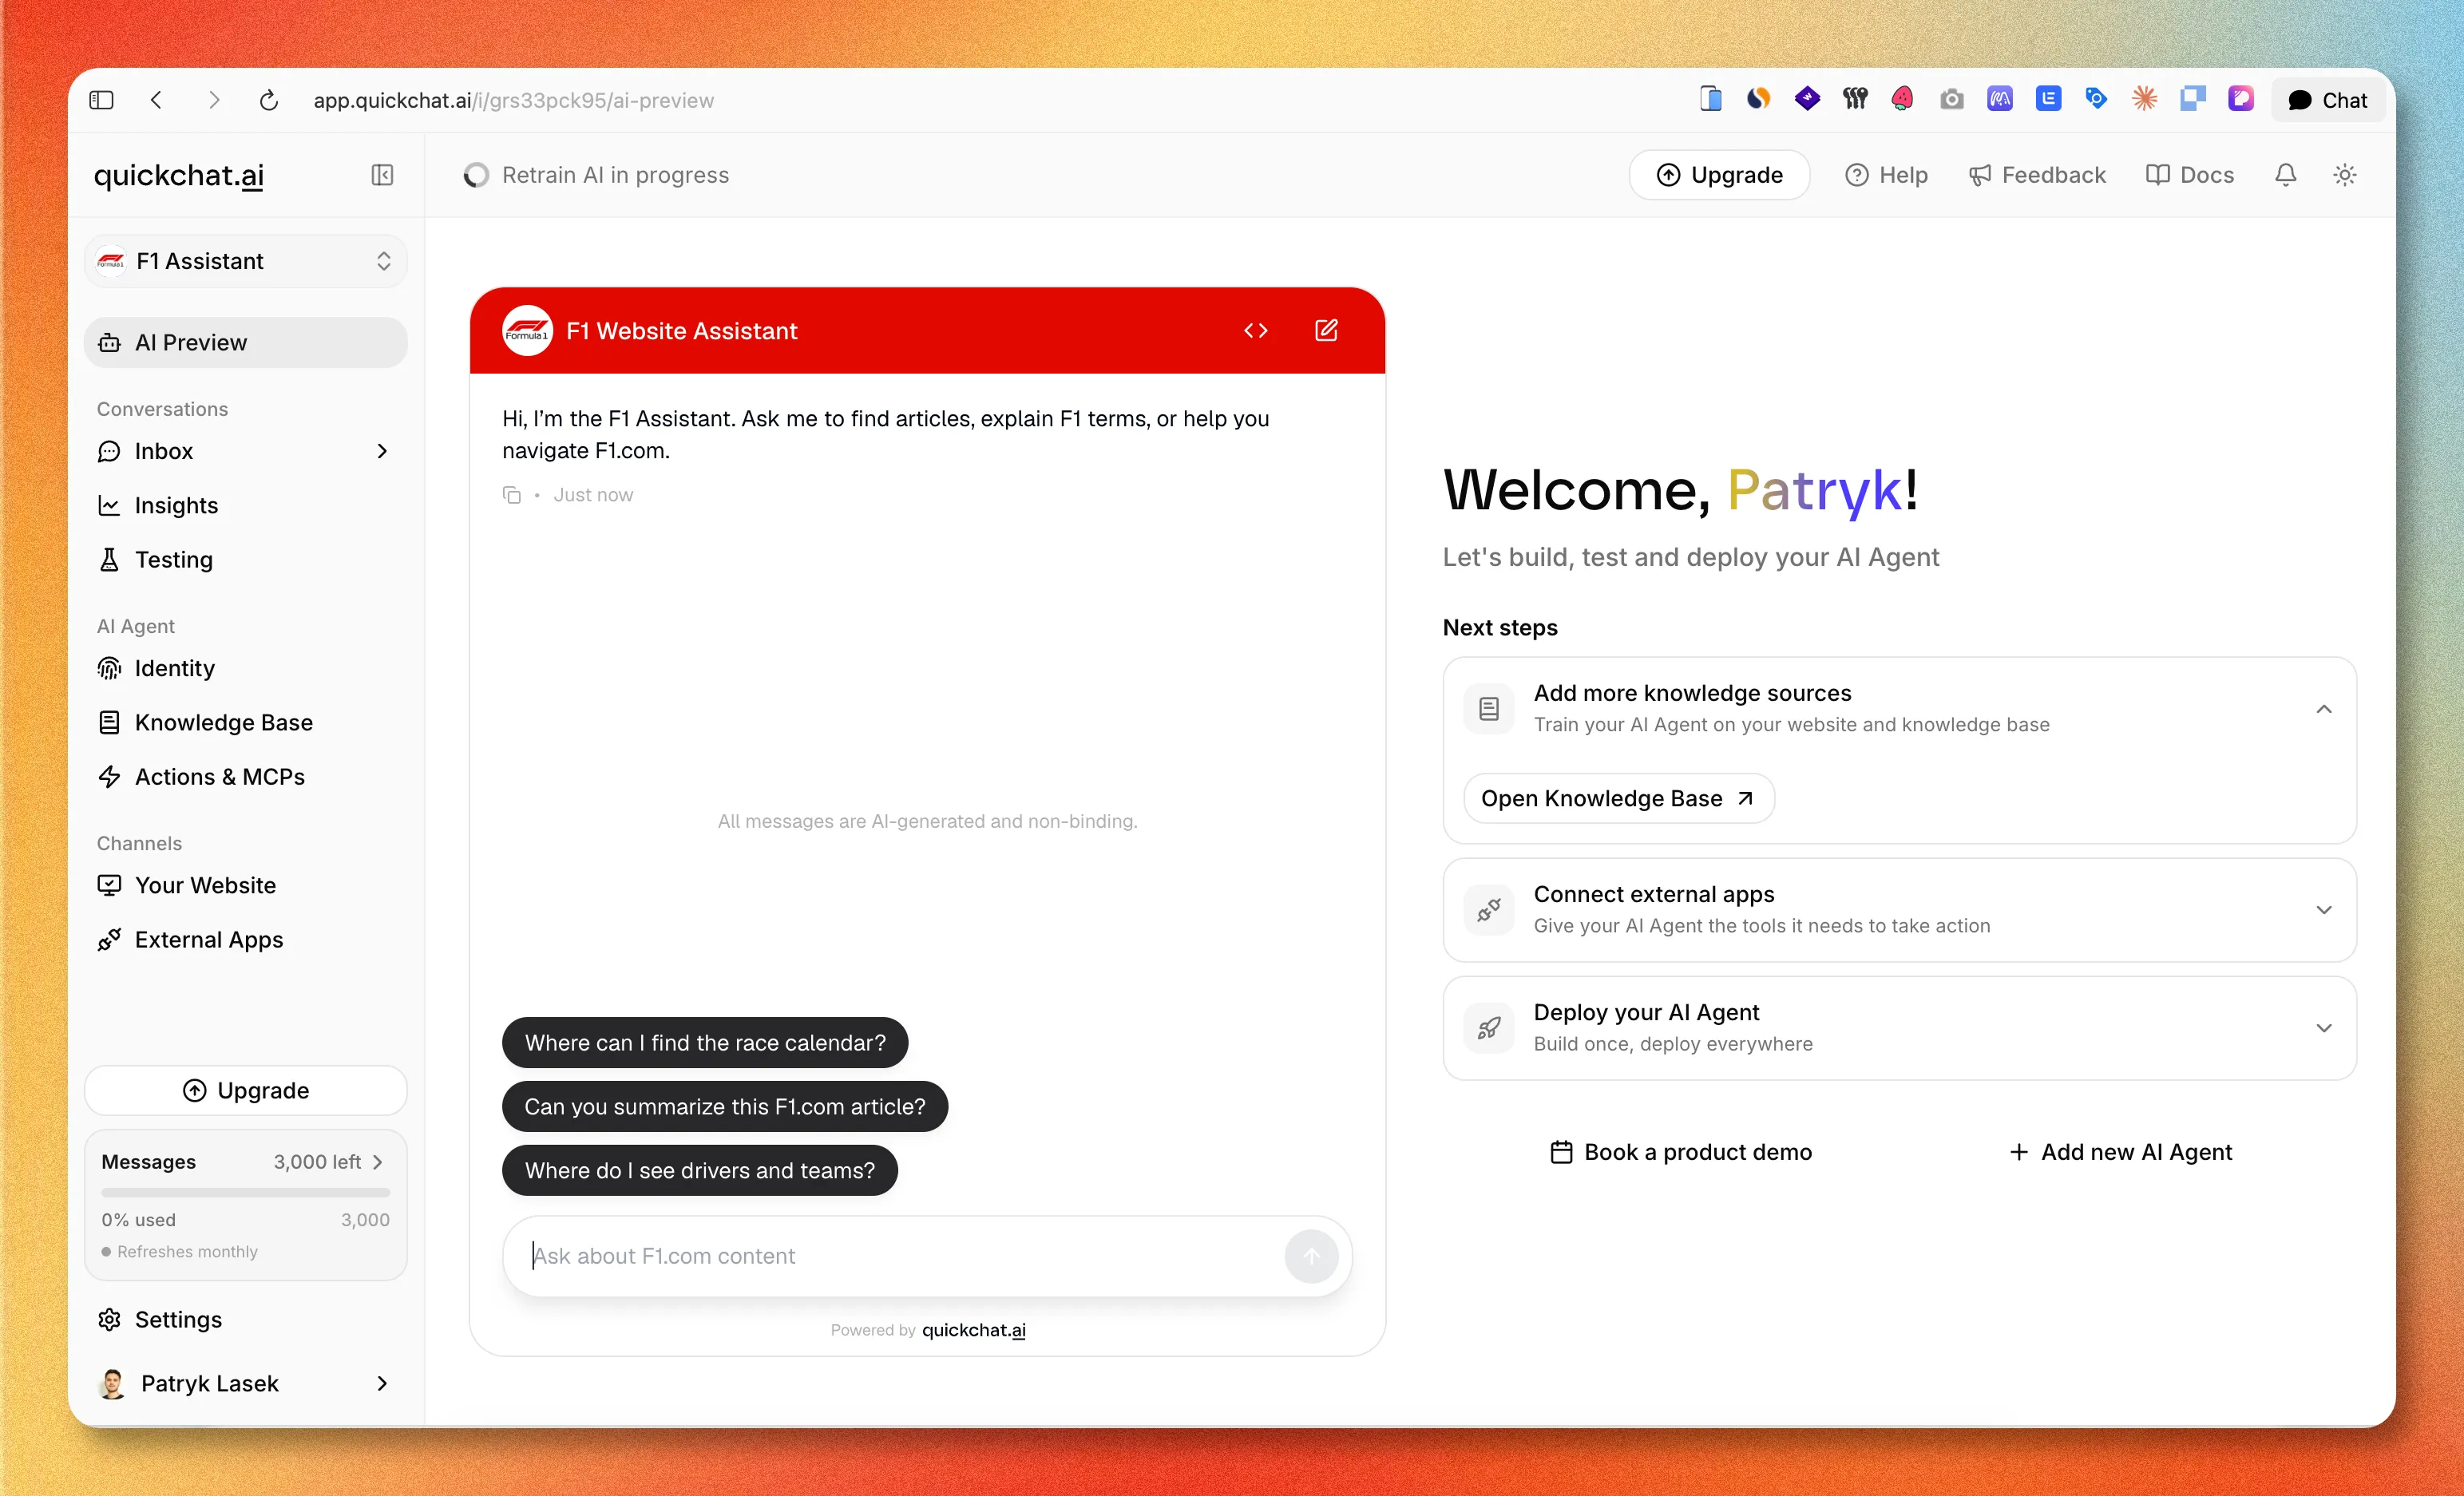 The dashboard, where you manage knowledge, channels, and deployment.
With an agent built, you are ready to add it to WordPress. There are two ways to do that.
Option 1: Install the official Quickchat AI plugin (recommended)
This is the no-code path. The plugin is a thin loader: it injects the chat widget and reads your AI agent’s configuration from Quickchat, so everything about how the bot behaves stays in one place.
1. Install and activate the plugin
In your WordPress admin, go to Plugins → Add New, search for Quickchat AI Agent, then click Install Now and Activate. You can also grab it directly from the Quickchat AI Agent listing on WordPress.org.
2. Connect your AI agent
Go to Settings → Quickchat AI Agent and paste your Scenario ID, then save.
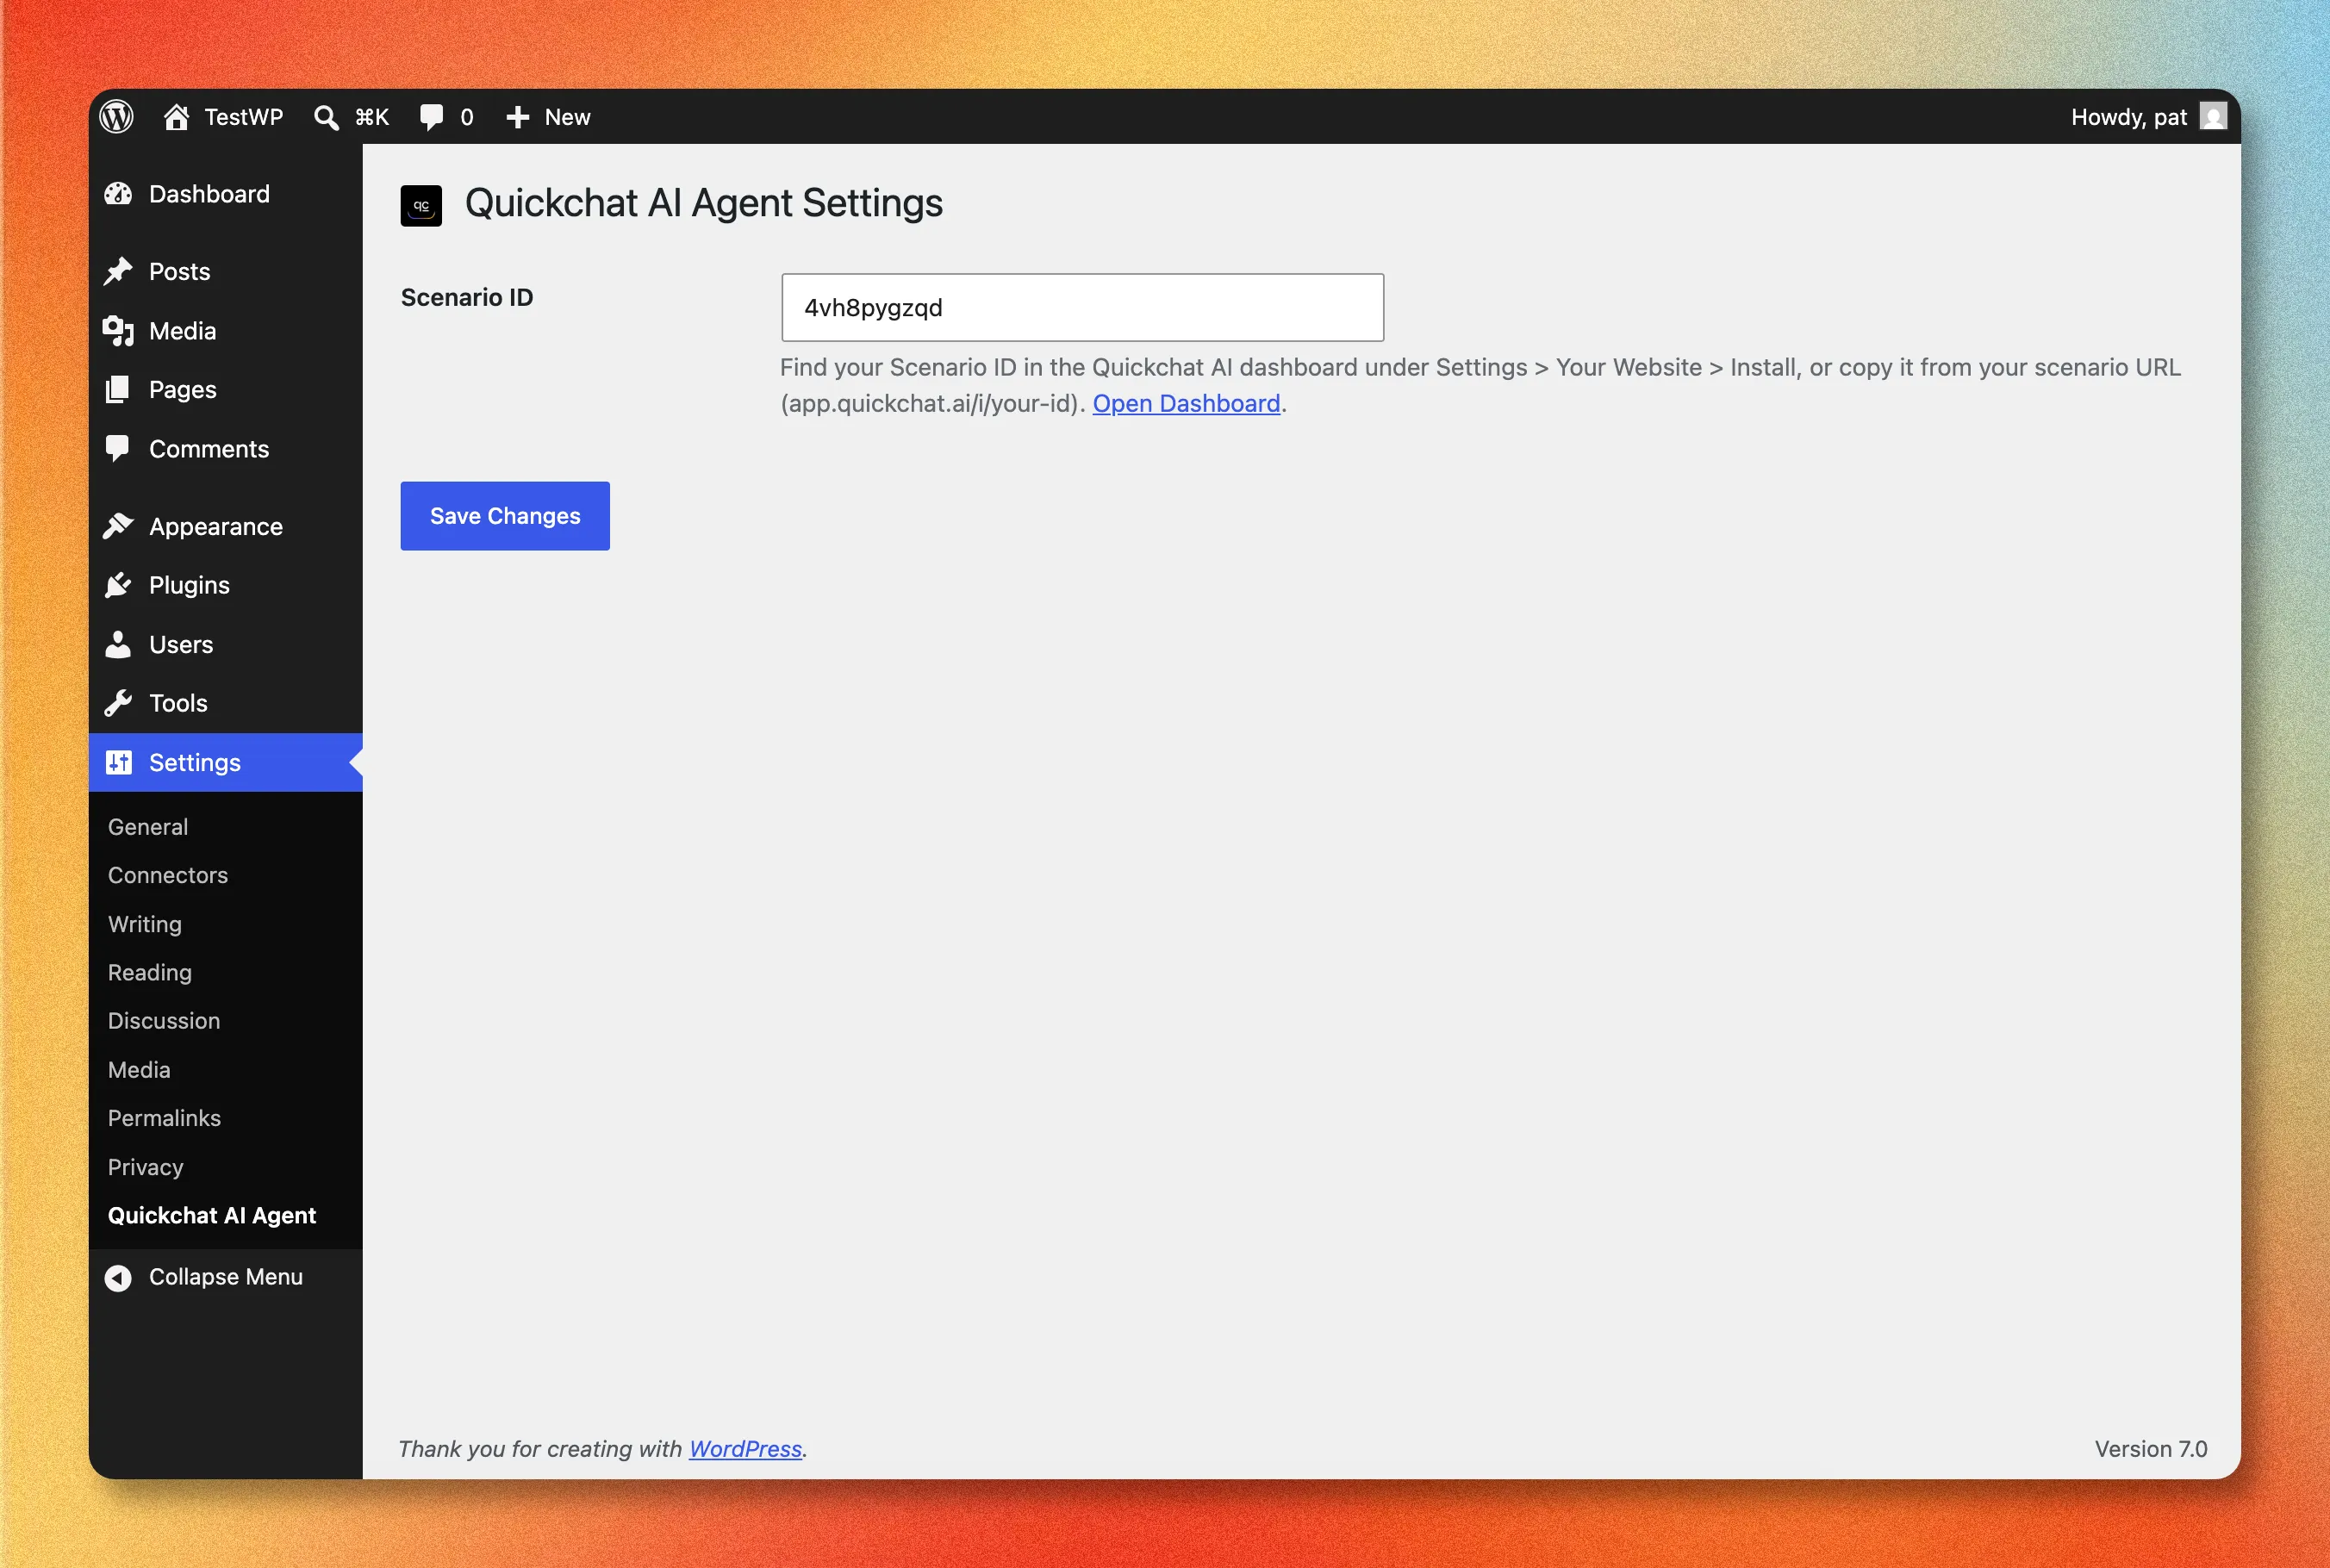 The entire plugin configuration is one field: your Scenario ID.
Your Scenario ID is the identifier for the AI agent you built in Step 1. Find it in the Quickchat AI App under Channels → Your Website → Install, where it appears both in the URL and inside the widget snippet. You can also read it straight from your scenario URL: it is the last part of app.quickchat.ai/i/your-scenario-id.
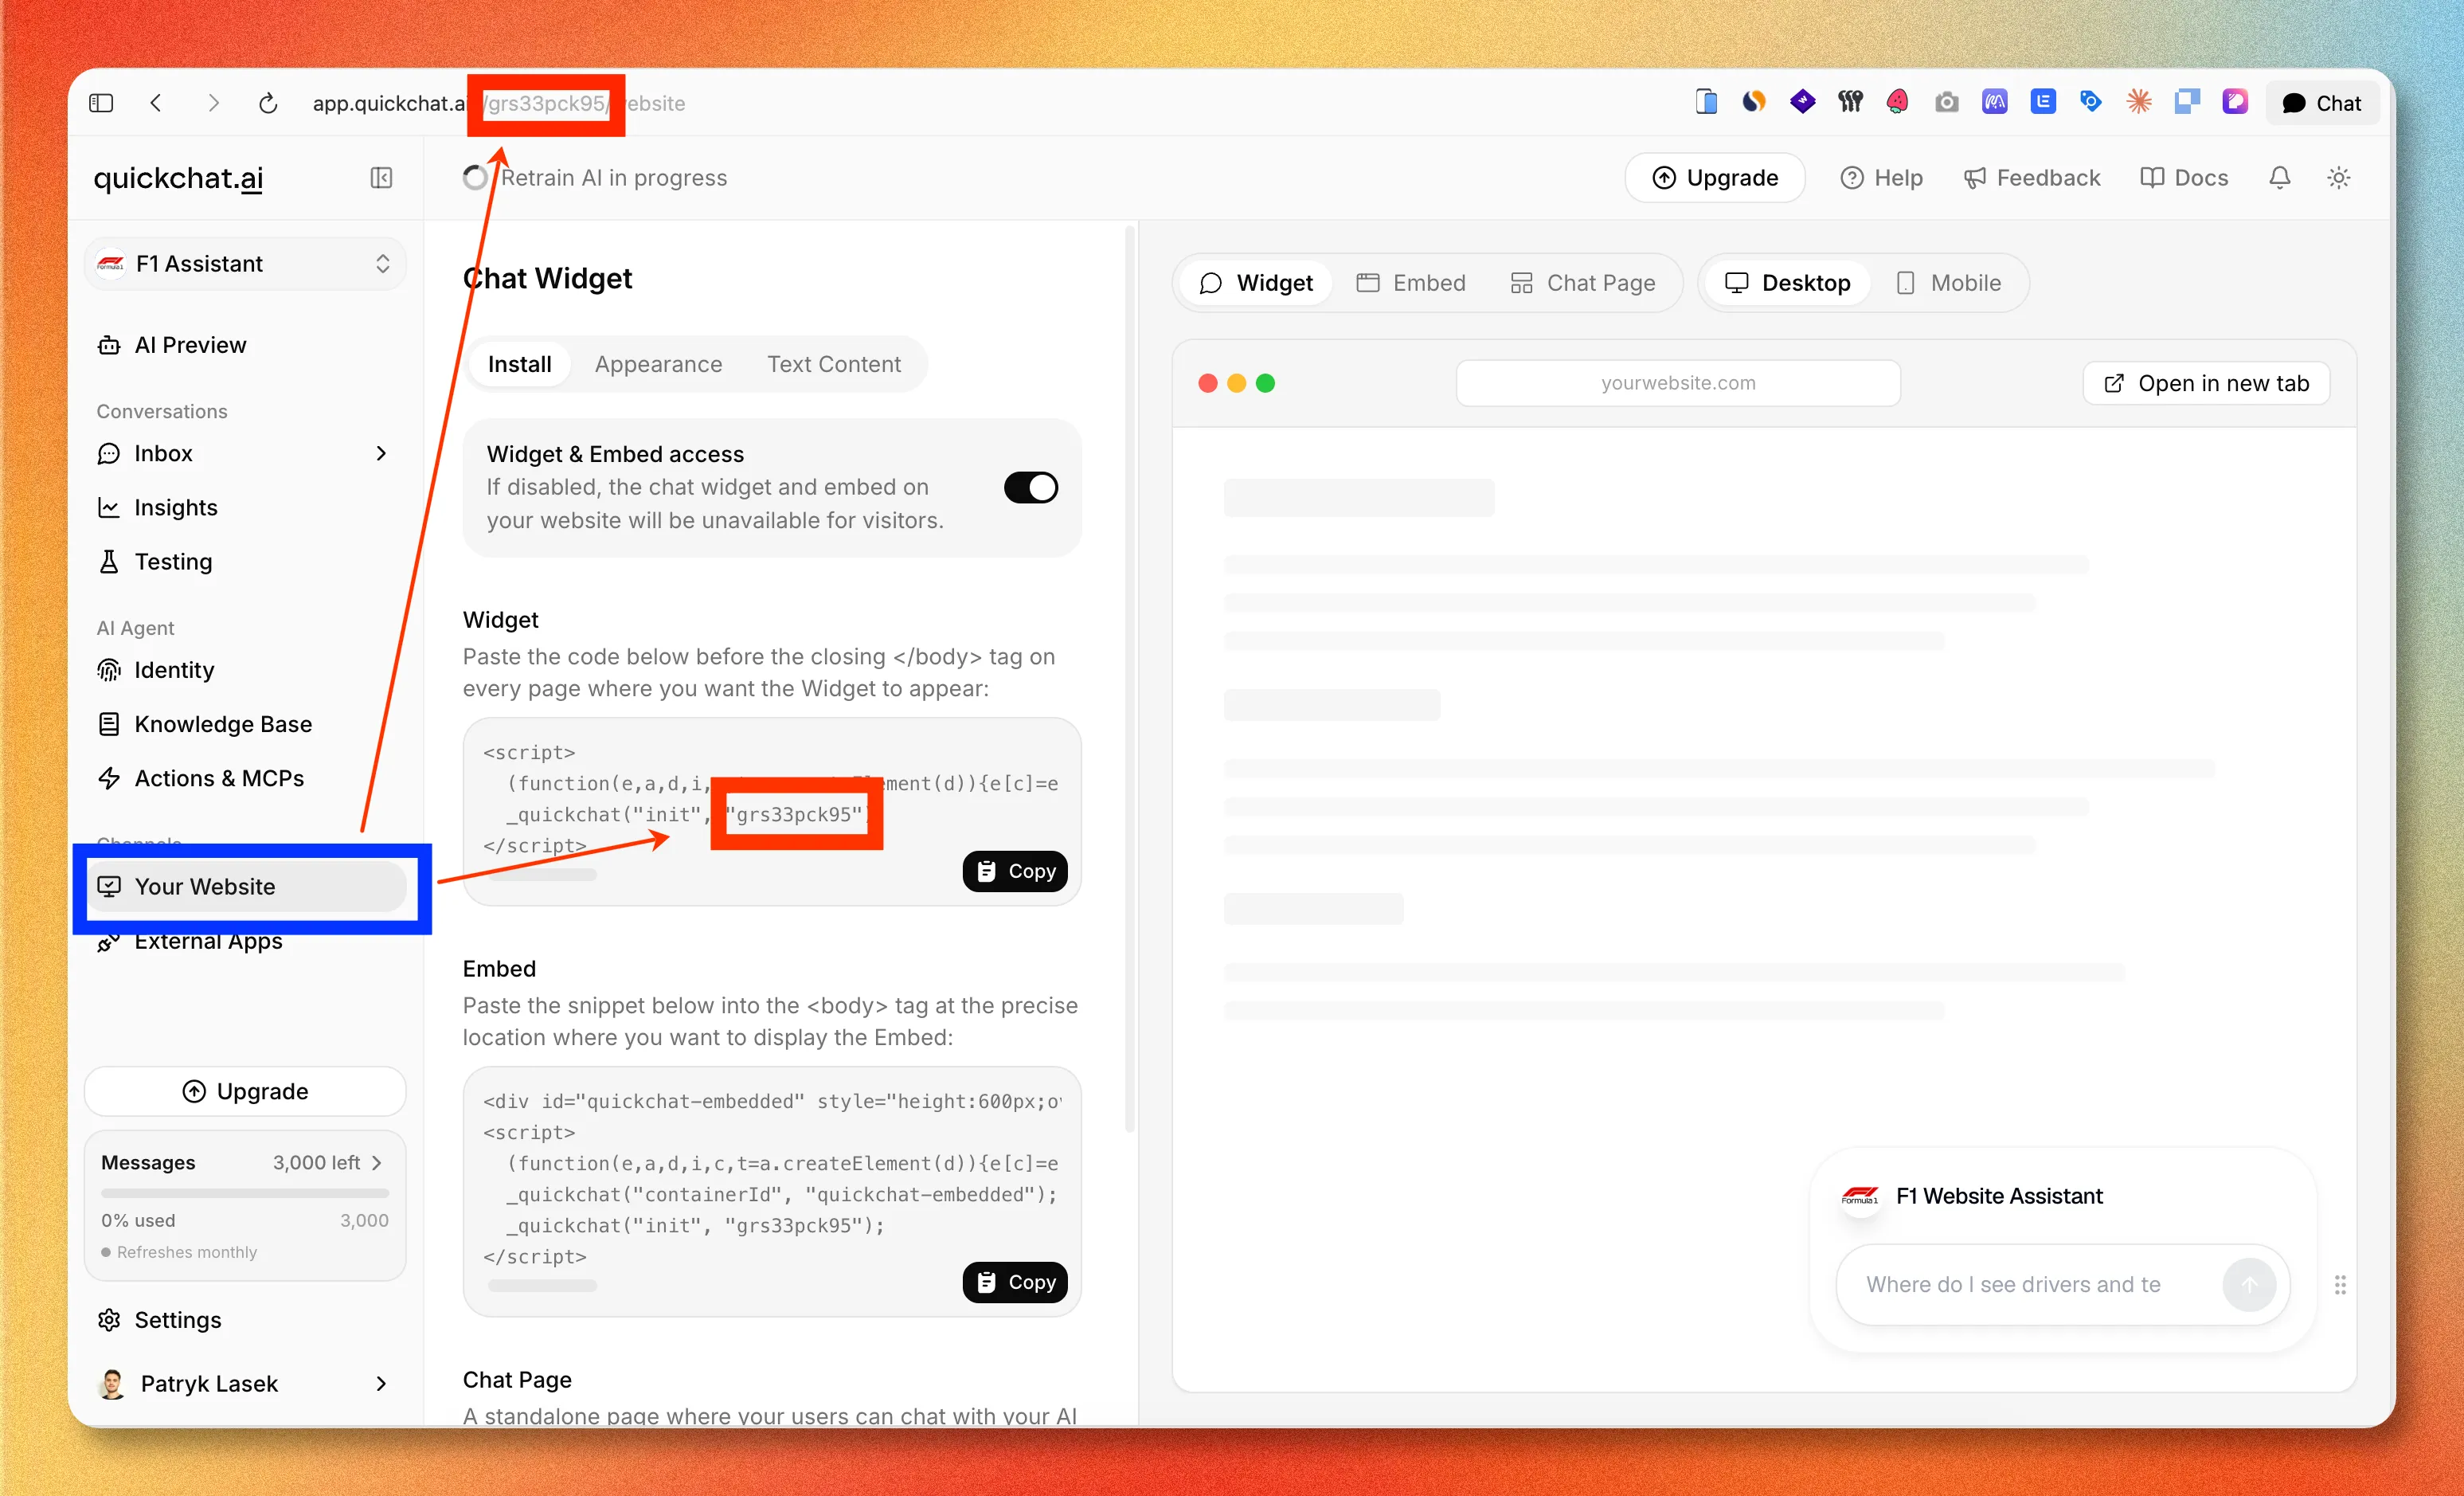 Where to find your Scenario ID in the Quickchat AI App: in the page URL and in the widget snippet.
3. Check your site
Open your site’s front end and look for the chat bubble in the bottom-right corner. Click it, ask a question, and confirm the AI answers. That is the entire installation.
 The live widget on a WordPress site, answering from the agent’s knowledge base.
If the bubble does not appear, the usual cause is that you are testing on a page served over plain HTTP: the widget only renders on HTTPS. The WordPress setup guide in our docs covers that and the other things to check.
Option 2: Add the widget with a code snippet (no plugin)
If you would rather not install a plugin, you can add the same widget with a one-line script. This is useful if you already manage other scripts through a single tool, or you are on a managed host that restricts plugins.
- In the Quickchat AI App, go to Channels → Your Website → Install and copy the Widget script. It looks like this:
<script>
  (function(e,a,d,i,c,t=a.createElement(d)){e[c]=e[c]||function(){(e[c].q=e[c].q||[]).push(arguments)},t.src=i,t.async=1,a.body.insertAdjacentElement("beforeend",t)})(window,document,"script","https://bubble.quickchat.ai/chat.js","_quickchat");
  _quickchat("init", "YOUR_SCENARIO_ID_HERE");
</script>- Paste it just before the closing
</body>tag, using a code-snippet plugin such as WPCode, or your theme’sfooter.phpvia a child theme so a theme update does not wipe it out.
The plugin does exactly this for you and survives theme updates, which is why it is the recommended route. The manual method exists for the cases where a plugin is not an option.
Customize how your chatbot looks
Notice what you did not do in either method above: pick colors, write a welcome message, or set the launcher position. That is deliberate. All of the appearance and copy lives in the Quickchat AI App under Channels → Your Website, not in WordPress, so you change it once and it updates everywhere your agent is deployed.
From there you can set the launcher size and position, header logo and colors, message bubble color, light or dark theme, the initial greeting, and up to three conversation starters (the suggested questions that nudge visitors toward what your bot is good at). Changes take effect on your live site automatically.
Make your WordPress chatbot actually useful
Installing the widget is the easy part. A chatbot is only as good as what it knows and what it can do, and this is where an AI agent pulls away from an old-style scripted bot.
- Feed it your content. Point your agent at your site URL, help center, product docs, and FAQs so it answers from your real material instead of guessing. A bot grounded in your knowledge base is the difference between “I’m not sure, please email support” and an actual answer.
- Give it actions. Beyond answering questions, an AI agent can run tasks: look up an order, check a booking, qualify a lead, or create a ticket. These turn the widget from a search box into something that resolves requests.
- Let it hand off. Configure when the bot escalates to a human (low confidence, specific intents, an explicit request) so visitors are never stuck.
If you are still deciding which platform to build that agent on, our Best AI Chatbot Builders in 2026 comparison and the No Code Chatbot Builder Buyer’s Guide walk through the criteria that matter.
Running a store? WooCommerce and ecommerce
If your WordPress site is a WooCommerce store, the same widget works, and the value is higher: an AI agent that can answer product questions, track orders, and recover carts pays for itself faster on a storefront than on a brochure site. The setup is identical (install the plugin, paste your Scenario ID), but the way you brief the agent differs. Our Ecommerce Chatbot Playbook covers what to prioritize for online stores.
”AI chatbot” vs “AI agent” for WordPress
These terms get used interchangeably, but searches for an “AI agent for WordPress” return two different kinds of tool, and it is worth knowing which one you are after.
The first kind is a visitor-facing agent: the chat widget this guide installs, which talks to the people browsing your site, answers their questions, and resolves requests. The second kind is a site-management agent that edits content, manages plugins, or updates WooCommerce from natural-language prompts inside wp-admin. They solve unrelated problems. This guide covers the first kind. If you want a bot that helps your visitors rather than one that helps you administer the site, an AI agent connected through the Quickchat plugin is what you want.
Which method should you use?
For almost everyone: the plugin. It is no-code, it survives theme updates, and it gives you a settings page and a clean uninstall. Reach for the manual script only when you cannot install a plugin or you centralize all scripts through one tool.
Either way, the meaningful work is not the install, it is teaching the agent your business. Get the widget live in two minutes, then spend your time on the knowledge base and actions that make visitors actually want to use it.
Ready to start? Create a free Quickchat AI account, build your agent, and add it to WordPress with the official plugin.