

Introduction
In this blog post, I will show you how to build and deploy a custom AI Agent on your website.
This will enable your business to:
- Boost website engagement with instant, 24/7 answers
- Capture more leads automatically
- Offload repetitive support tasks from your team
We’ll use Quickchat’s dashboard to configure your AI agent, load it with your business knowledge, and embed it on your site with a simple snippet.
How it works
Here is the high-level overview of the process:
- You provide your AI Agent with knowledge by pasting text, uploading documents, or importing content from your website.
- The AI Agent processes this information to become an expert on your business.
- You embed a chat widget on your website, allowing visitors to ask questions and get instant, accurate answers based on the knowledge you provided.
Please follow the steps below. The whole setup shouldn’t take longer than 5 minutes!
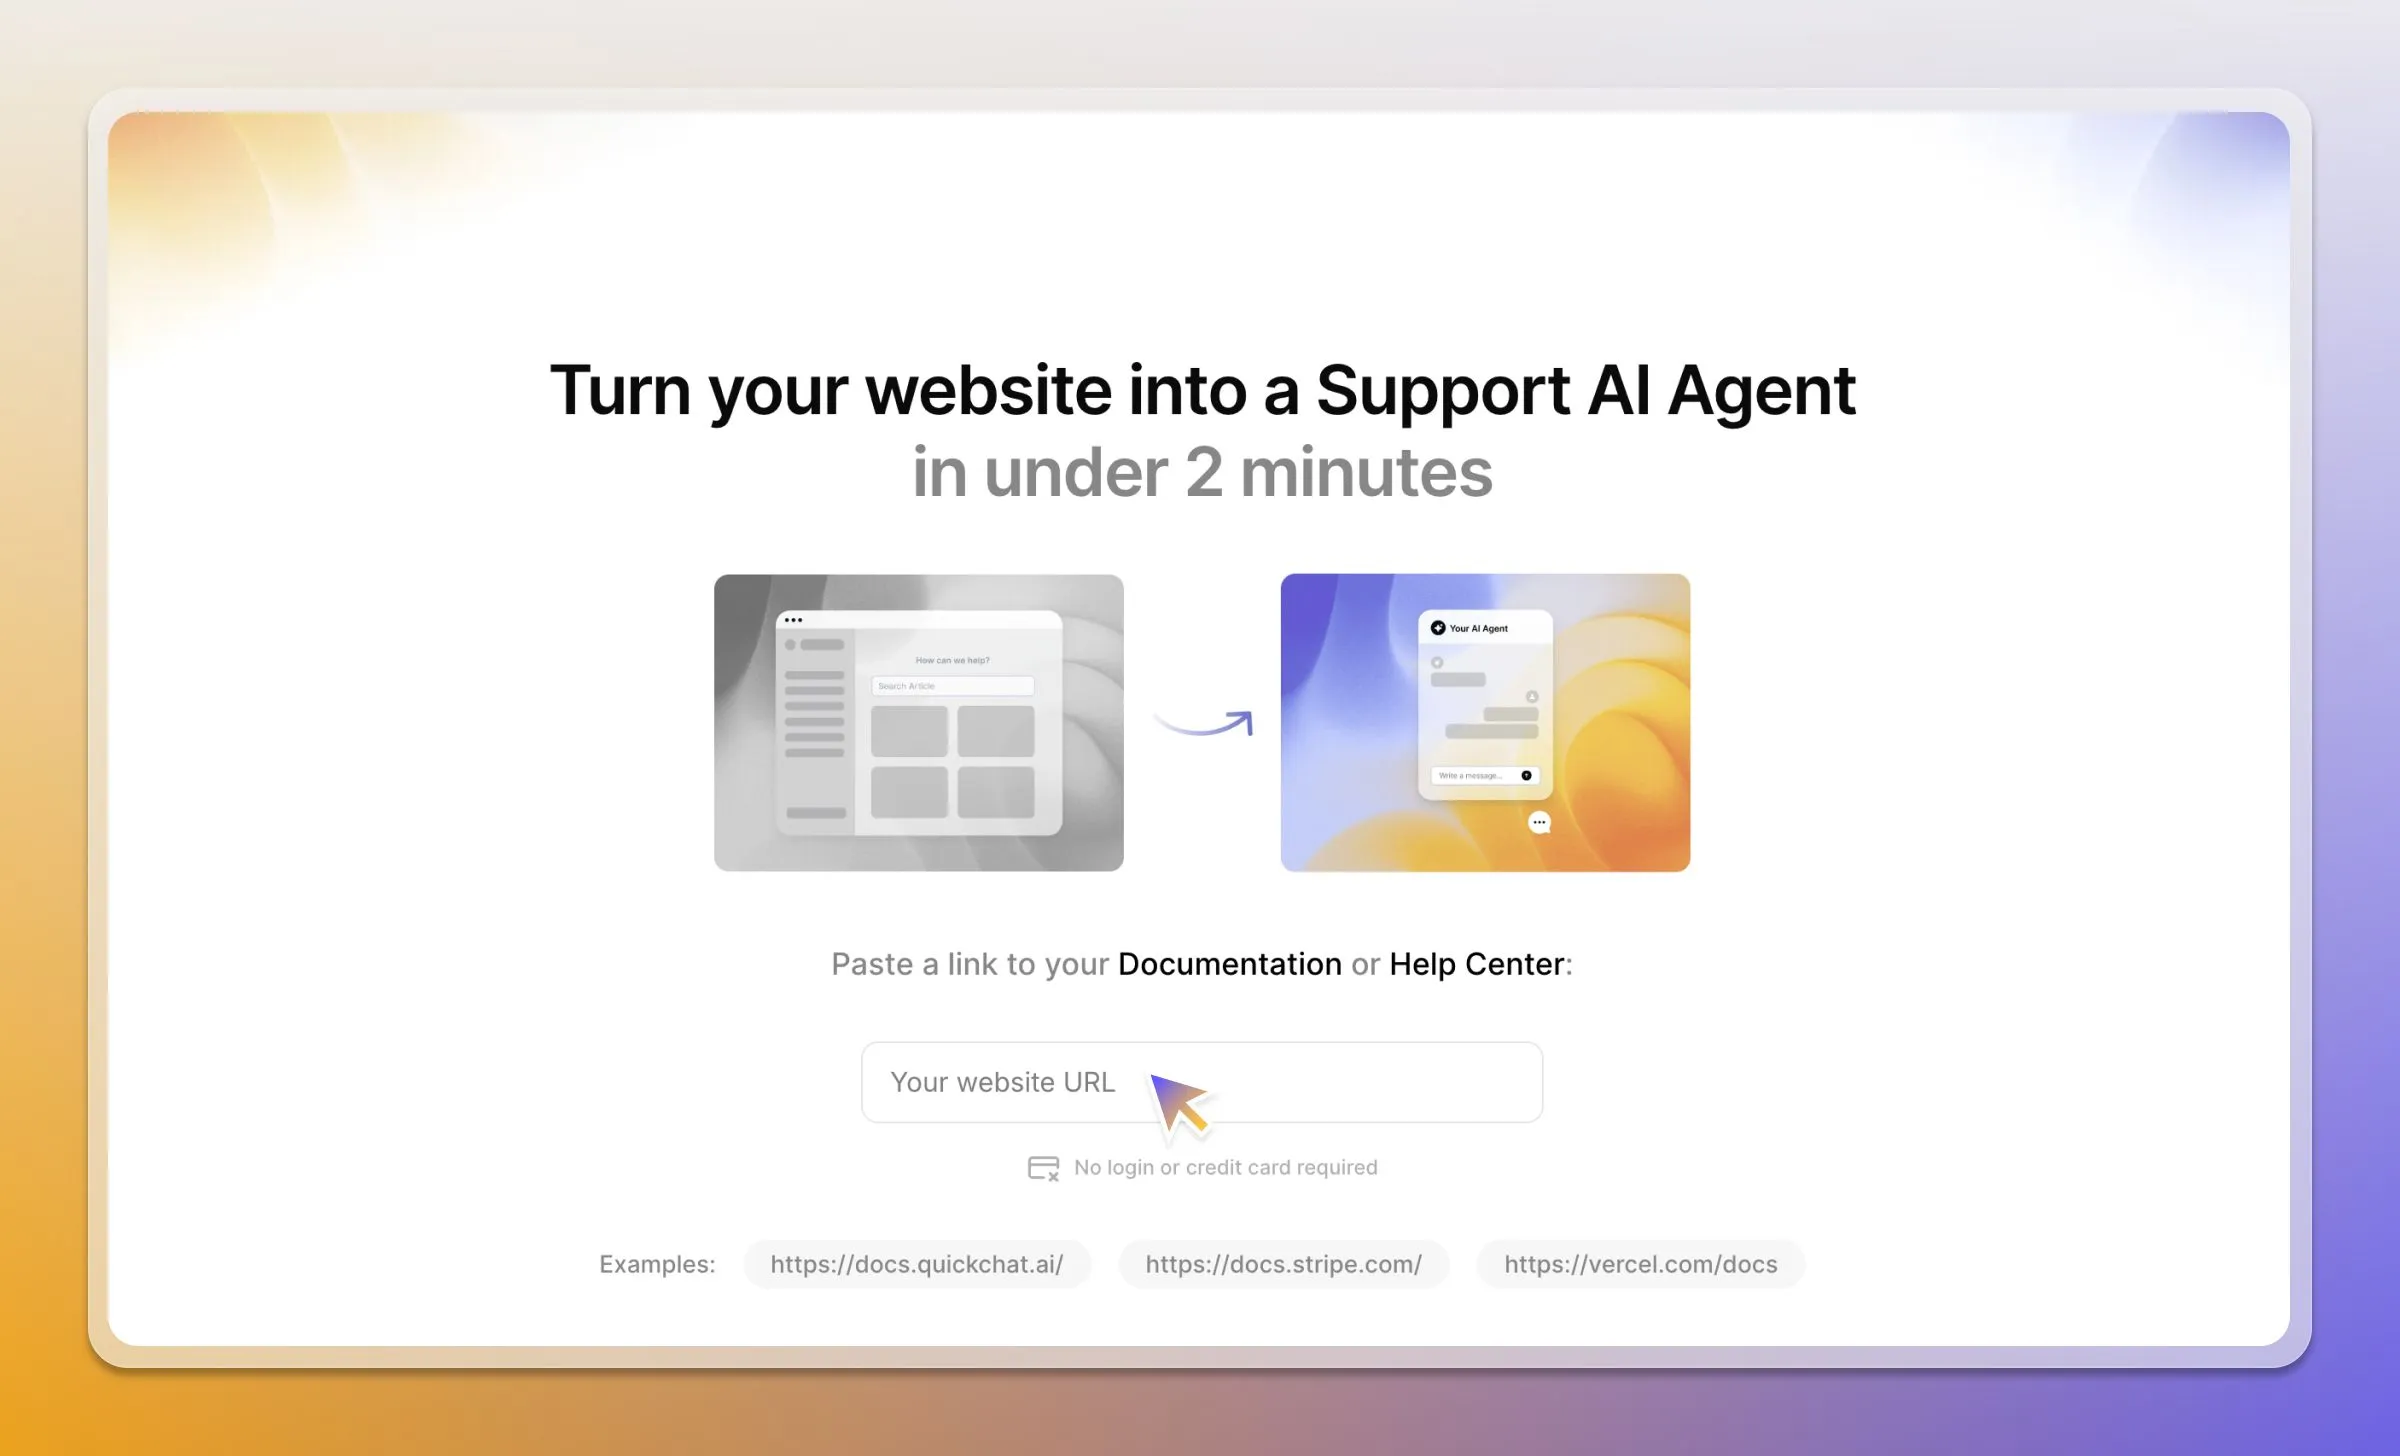
Step 0 - Try it without an account
If you want to see it in action first, you can generate a temporary AI Agent without signing up.
- Go to the Quickchat AI demo page.
- Paste a link to your website, help center, or Shopify store.
- Test how the AI Agent responds using your own content—no registration required.
Step 1 - Define Your Agent’s Identity & Personality
You’ll need a Quickchat AI account — sign up here.
After logging into the Quickchat AI app, go to the Identity tab.
- Give your agent a Name (e.g., “Eco AI Agent”) and a Description of its role (e.g., “Offers advice on sustainable living”).
- Under AI Personality, choose a voice that matches your brand (classic, friendly, professional, or playful).
- Select an AI Profession, like Shopping Assistant or Support Agent, to guide its tone and priorities.
Step 2 - Add Your Knowledge
Navigate to the Knowledge Base tab to teach your AI Agent about your business. You have a few options:
- Enter text manually: Paste FAQs, product descriptions, or guidelines.
- Upload documents: Add PDFs or Word files.
- Import web pages: Provide URLs, and Quickchat will fetch their content. This is the fastest way to get started.
To import a page, click Add Knowledge, choose Website → Single page import, paste a URL, and click Import. Repeat this for your key pages to build a solid foundation.
Remember to click the Retrain AI button whenever you add or update knowledge.
Step 3 - Test and Deploy
Once your agent is trained, go to the AI Preview tool to test its responses. Ask questions based on the content you provided to check for accuracy and tone.
When you’re ready to go live:
- Go to Channels → Your Website → Install.
- Copy the provided embed code snippet.
- Paste the code into your website’s HTML before the closing
</body>tag.
That’s it! The chat bubble will now appear on your site.
Step 4 - Customize the Look and Feel
Under the same Install tab, you can customize the chat widget’s appearance to match your brand.
- Set the primary and header colors.
- Upload a custom avatar for your AI Agent.
- Adjust the bubble size, position, window dimensions, and animation style.
- Enable white-labeling to remove Quickchat AI branding.
Step 5 - Enhance Your Agent with Optional Features
You can enable more advanced capabilities in the dashboard.
- Human Handoff: Found in the Capabilities section, this allows the AI Agent to transfer complex conversations to your human support team seamlessly.
- Smart Lead Generation: Activate this in the Actions tab to let the AI intelligently identify opportunities to ask for a user’s name, email, or phone number.
- Advanced AI Actions: For technical users, Custom Actions allow your AI Agent to trigger external systems, like creating a support ticket in another app via an API call.
Best Practices
- Provide High-Quality Content: The AI is only as good as the information you give it. Use accurate and comprehensive content.
- Set Clear Guidelines: Use the guidelines section in the Identity tab to define your agent’s boundaries and desired behaviors.
- Test Thoroughly: Use the AI Preview tool to ask real-world questions and refine the knowledge base for accuracy.
- Monitor Analytics: Review the dashboards to track user sentiment and popular topics, using the insights to improve your content.